
You can use the tab "Fraud prevention" → "White list" to search for and filter authorised BIN ranges. BIN stands for bank identification number. The BIN is indicated by the first 6-8 digits of a credit card number. The BIN is used to uniquely identify the card type, along with the country of origin and the issuing bank (issuer) of a credit card. You can authorise specific BIN ranges in Computop Paygate to allow unlimited creation of operations using credit cards within this range. Moreover, you have the option of opening the detailed view of the list entry for every BIN range that has been authorised. You can delete the authorised range in the detailed view of the list entry.
Overview of the search criteria

- "Period" selection field
- "Operation characteristics" selection field
- "Search and Filter" button
- "New entry list" button
- "Upload csv" button
Activating the "Period" selection field
When you click in the input fields for the date, a calendar opens in which you can select a date. When you click in the input fields for the time, you can define a time for the search.
Activating the "Operation characteristics" selection field
You can use the operation characteristic to narrow down the search to a specific BIN range. You cannot search for credit card BIN ranges. BINs can be entered as follows: 100020.
Opening the detailed view of a list entry
You can open the detailed view for every list entry in the search results. More information about the blacklisting characteristics are shown to you in the detailed view. Moreover, you can delete the list entry in the detailed view.
Proceed as follows to open the detailed view of the list entry:
1. Activate values in the selection fields.
2. Click on the "Search and Filter" button.
→ Computop Analytics verifies the values entered. If the values are invalid, a message showing the reason why will appear in red. If the values are valid, the search results will be shown.

- "Listed value" column
- Name of the blacklisted list entry
3. Click on the value listed for the required list entry in the "Listed value" column.
→ The detailed view of the list entry opens.

- Blacklisting characteristics
- "Delete entry" button
The "Blocking characteristics" selection field shows you the date of creation and the authorised credit card range for the list entry.
You can use the "Delete entry" button to delete the list entry from the white list.
Creating an authorised credit card range in the white list
- "Period" selection field
- "Operation characteristics" selection field
- "Search and Filter" button
- "New entry list" button
- "Upload csv" button
Proceed as follows to add a new list entry to the white list:
1. Click on the "New entry list" button.
→ The "New entry list" window opens.

- "BIN-Range" From input field
- "BIN-Range" To input field
- "Add data entry" button
BIN-Range input field
2. Enter the credit card BIN range in the "BIN-Range" From and "BIN-Range" to input fields.
3. Click on the "Add data entry" button.
→ Computop Analytics verifies the values entered. If the values are invalid, a message showing the reason why will appear in red. If the values are valid, the Computop Paygate uses the credit card BIN range entered to create a list entry in the white list.
Authorising several credit card ranges by using a CSV file
You can use the "Upload csv" button to authorise several credit card ranges by using a CSV file. To do so, collect the credit card ranges in a CSV file, which you can then upload to Computop Analytics.
CSV file
If you upload a CSV file to Computop Analytics, Computop Paygate will create list entries for the authorisations saved to a CSV file.
- "Period" selection field
- "Operation characteristics" selection field
- "Search and Filter" button
- "New entry list" button
- "Upload csv" button
1. Click on the "Upload csv" button.
→ The "Upload csv" window opens.

- "Browse..." button
- "Upload csv" button
2. Click on the "Browse..." button.
→ The file explorer opens on the computer.
3. Select the CSV file on the computer.
4. Click on the "Upload csv" button.
→ Computop Analytics verifies the CSV file. If the CSV file is invalid, a message showing the reason why will appear in red. IF the CSV file is valid, the list entries are created.
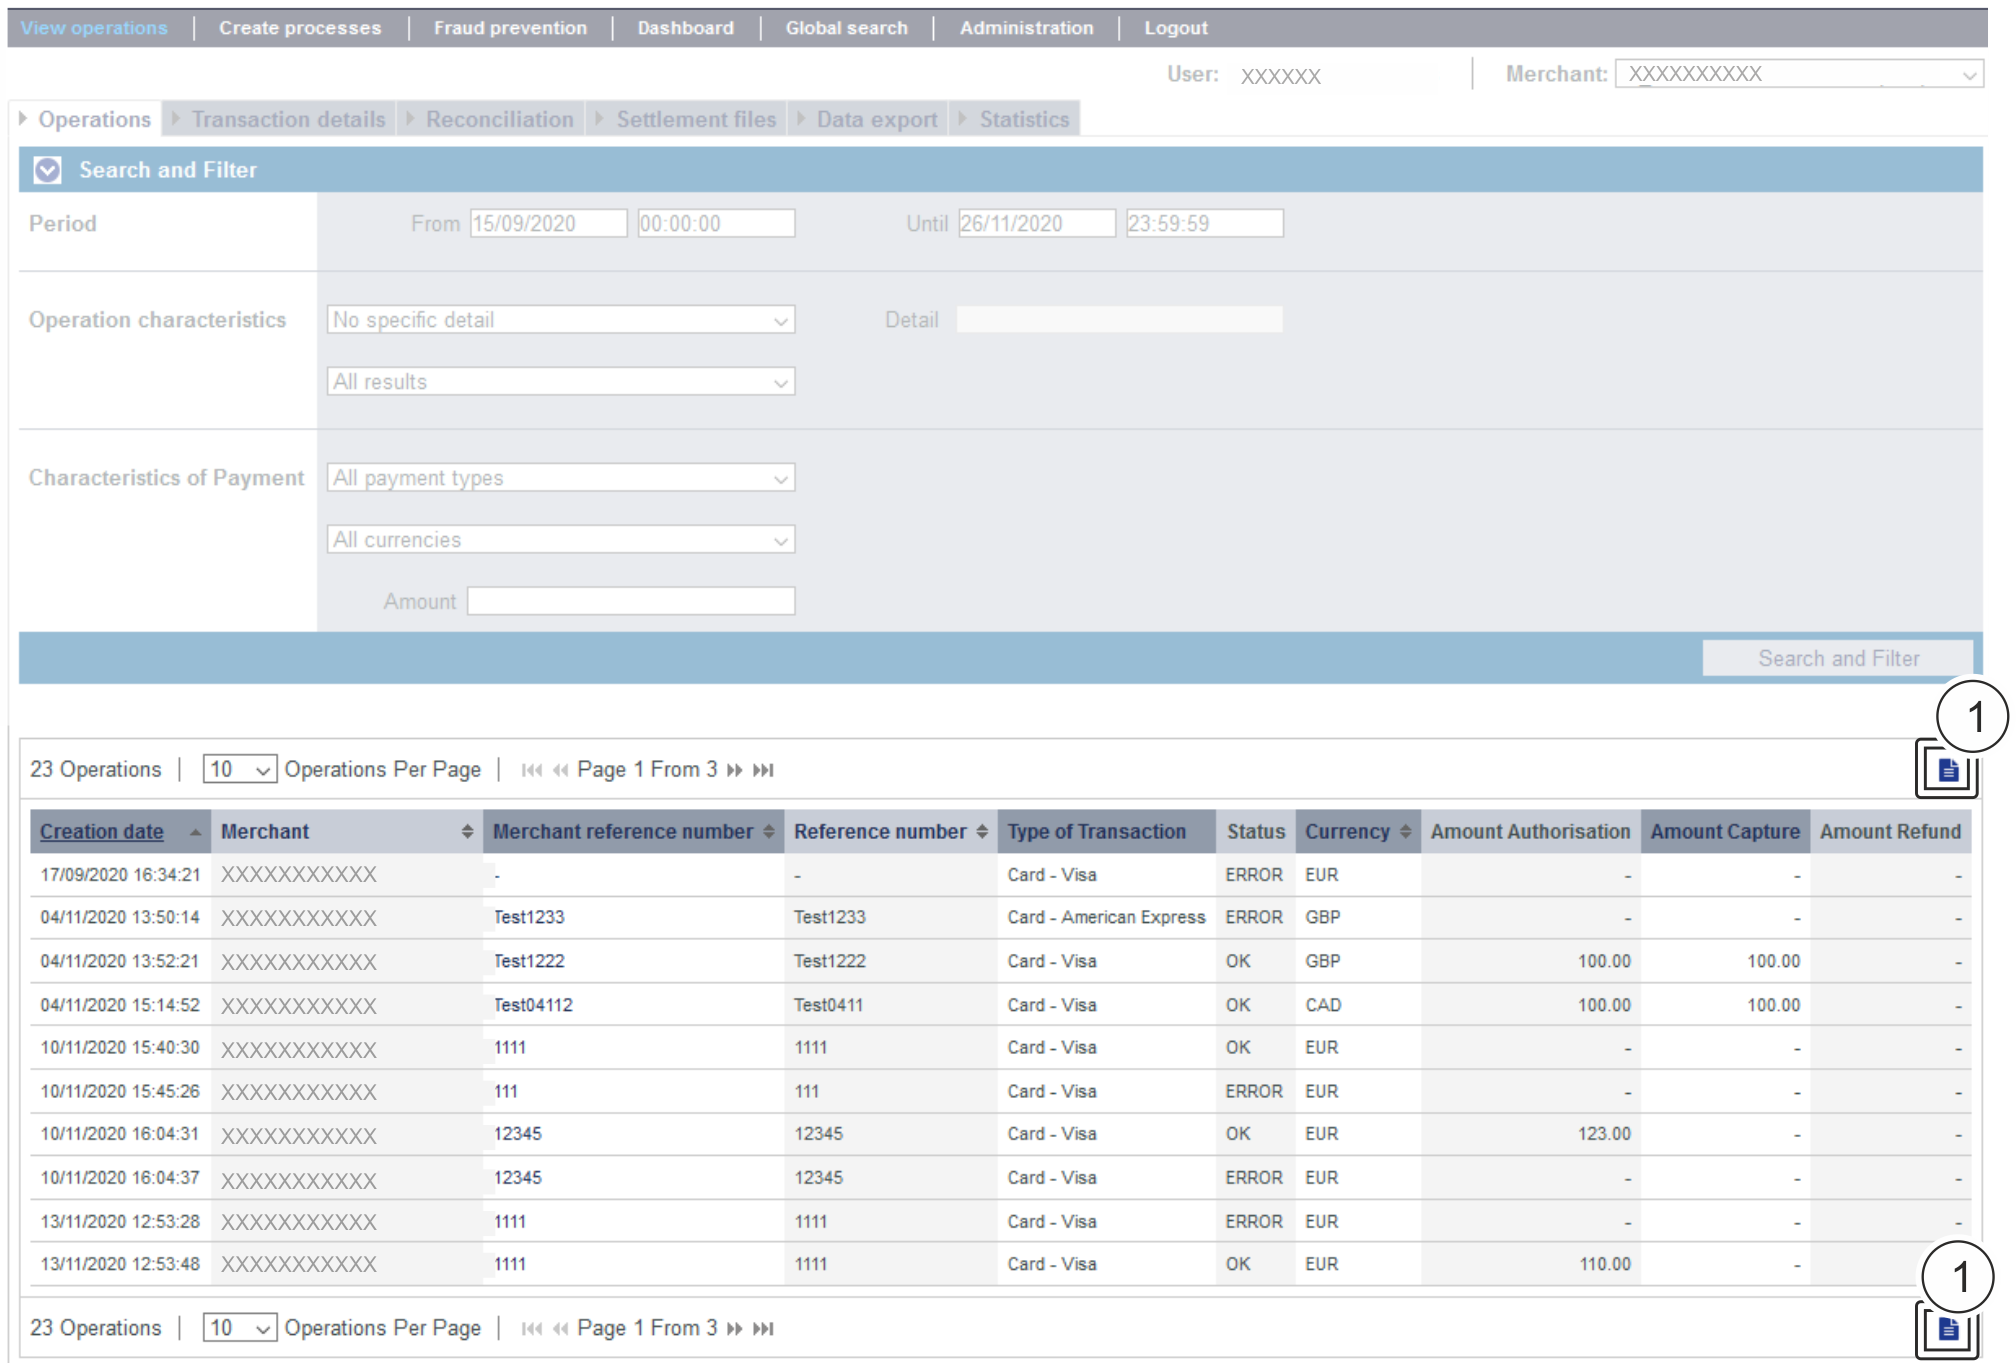
You can export the search results as an Excel file for further processing. Proceed as follows to export the search results: → The application verifies the values entered. If the values are invalid, a message showing the reason why will appear in red. If the values are valid, the search results will be shown. 3. Click on the "Export → The search results are issued as a CSV file ready to download.Exporting search results
![]() " button
" button![]() " button.
" button.
Application Button
The button at the bottom allows you to jump to the corresponding page within the application. You must be logged in to jump to the corresponding page within the application.